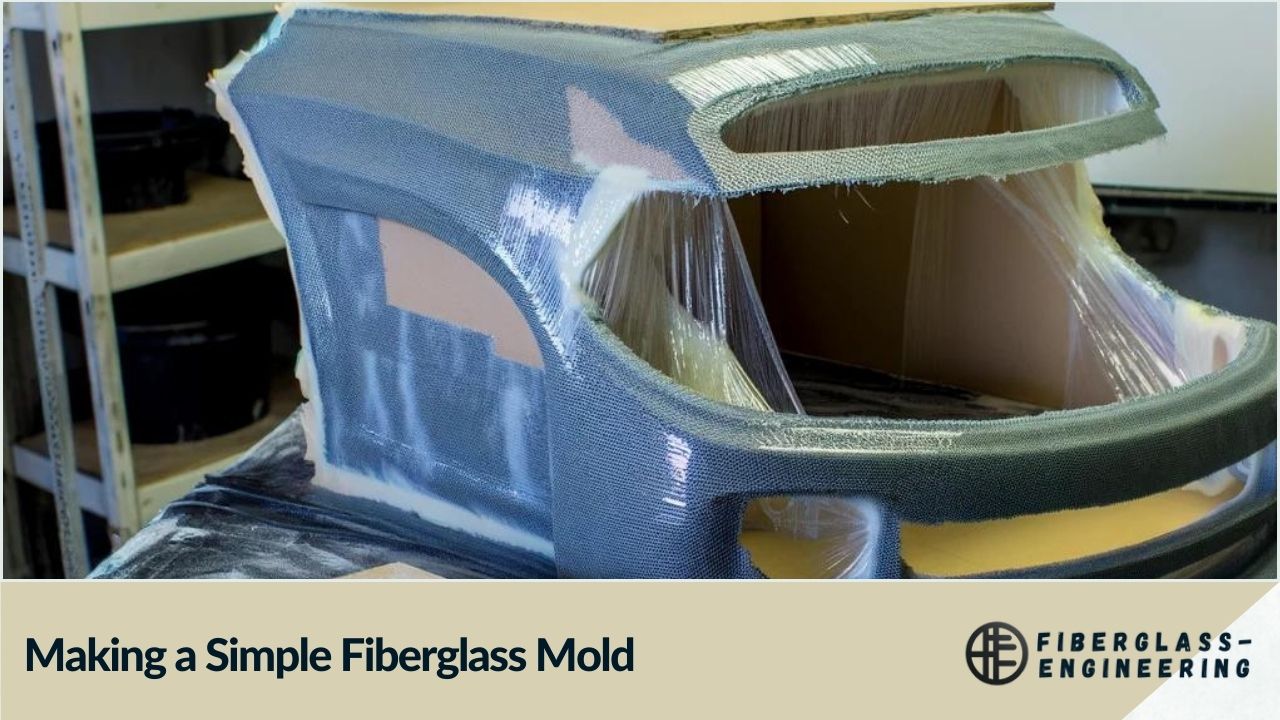
This guide shows you an easy way to make your fiberglass molds. You can make a good mold that can be used often to create things. This will tell you every step from beginning to end, like getting the mold ready, applying special coats, using fiberglass and resin, and removing the mold. You don't need to be an expert; you can make a great mold yourself with a little work!
What You Need:
- Sealer or resin (for molds that soak up liquid)
- Wax to help release the mold
- PVA (a type of liquid)
- Special gel coat (or gel coat without wax)
- Gel coat sprayer (better to use) or a paintbrush
- Chopped strand mat (a type of fiberglass)
- Polyester resin (Ortho or ISO type)
- MEKP (a hardener)
- Tool to spread the resin
- Tool to roll out air bubbles
- Plastic tool to help remove the mold
- Something to make the mold shiny
Follow these steps to create your fiberglass mold at home!
Getting Your Model Ready
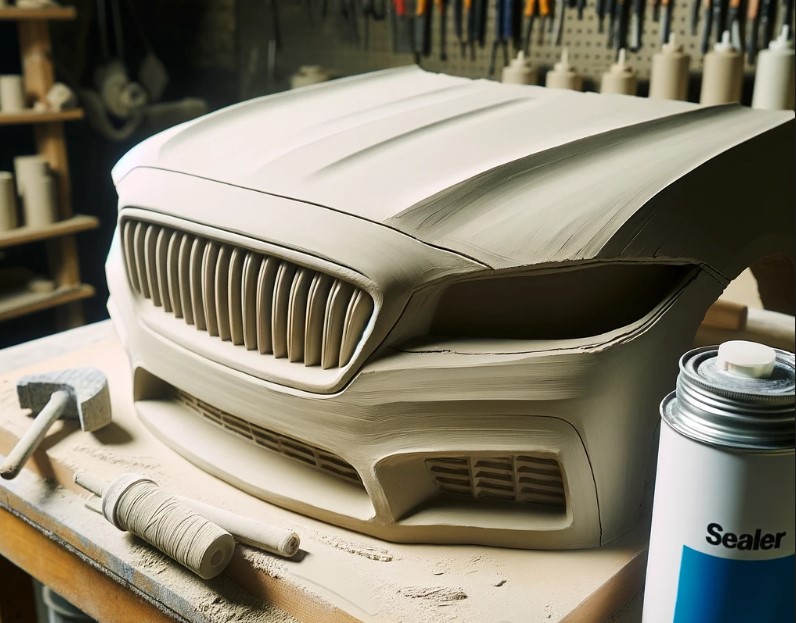
The first thing you need to do to make a fiberglass mold is to get your model ready. This model is what you want to make copies of. It could be anything like a part of a car, a boat, or something new you've made from materials like clay, wood, or metal. You must ensure the model is perfect because any tiny mistake will appear in your final mold. If your model has holes or rough spots, fill them and sand them until smooth. If your model is like a sponge and soaks up liquid, you must cover it with a special sealer or resin to stop this. The model must be clean and have nothing that shouldn't be there. Getting the model just right is very important. It's much easier to fix any issues on the model than on the mold you make from it.
Also, your model needs a slight slant or edge so you can easily take the mold off later. This edge is very helpful for separating your model from the mold once it's done.
Applying Mold Release
You must apply a mold release agent before adding any resin or fiberglass to your model. This helps ensure your mold doesn't stick to the model and can be removed later. A good choice is to use a special wax, like Partall Paste #2. Put on several light layers of this wax with a cloth. After putting on each layer of wax, you should buff it, which means rubbing it until it shines. It's best to do this immediately, within a minute of applying the wax. You can do this by hand, but using a power buffer with a wool pad is faster and easier.
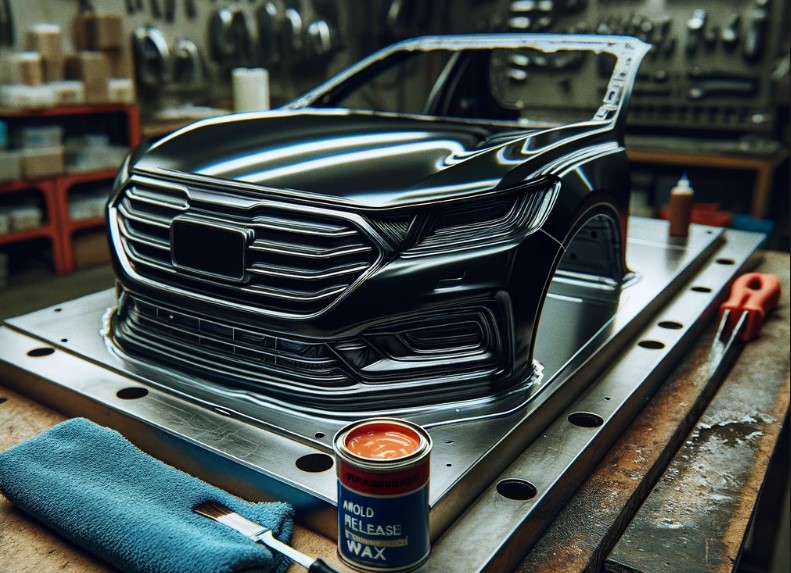
Apply 3 to 5 layers of this wax for a new mold to ensure it's fully covered. Once your mold has been used a few times, you only need 1 to 2 layers of wax. Be careful to take advantage of all spots!
After the wax, you can add an extra layer of protection with a PVA mold release, like Partall #10 or Fiberlease. It's easiest to spray this on, but you can also use a brush. Put on three layers, letting each dry completely before adding the next. Start with a thin coat, then add two thicker ones. The PVA will take 15 to 30 minutes to dry, depending on how warm and humid it is. You need to be patient and wait for it to dry completely before you start on the next step, which is applying the gel coat. When dry, the PVA should be smooth, shiny, and 2 to 4 mils thick. If you see any mistakes, you can wash it off with water and try again.
Applying the Gel Coat
Now, it's time to put on the tooling gel coat. This special coat makes the surface of your mold strong and hard to scratch, helping your mold last longer. This gel coat often comes in black or orange colors, so you can easily see the difference between your mold and the actual part you're making. If you're using a regular gel coat, remember not to use one with wax. It's best to spray the gel coat in several layers until it's about 15 to 20 mils thick. Although you can also use a brush, spraying gives a better finish. Before you apply the gel coat, you need to mix it with a MEKP catalyst. This should be 1-2% of the total volume of the gel coat.
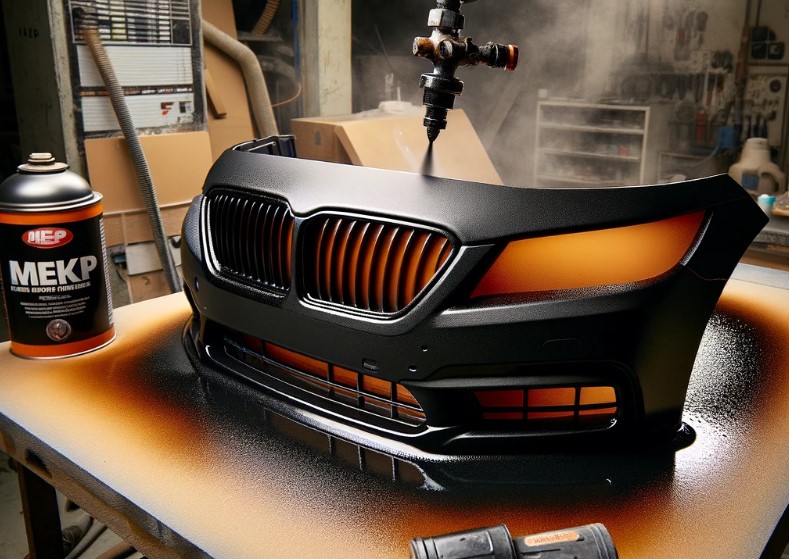
You'll need to let the gel coat dry for a few hours before you move on to adding fiberglass and resin. The gel coat should dry so you can't scratch it off with your fingernail, but it should still feel sticky. Waiting patiently for 2 to 4 hours (or maybe longer, depending on how warm and humid it is) is important. This wait helps avoid problems like alligatoring, which is when the surface gets wrinkled because the next layer of resin affects the still-wet gel coat underneath.
Adding Edges for Easy Removal
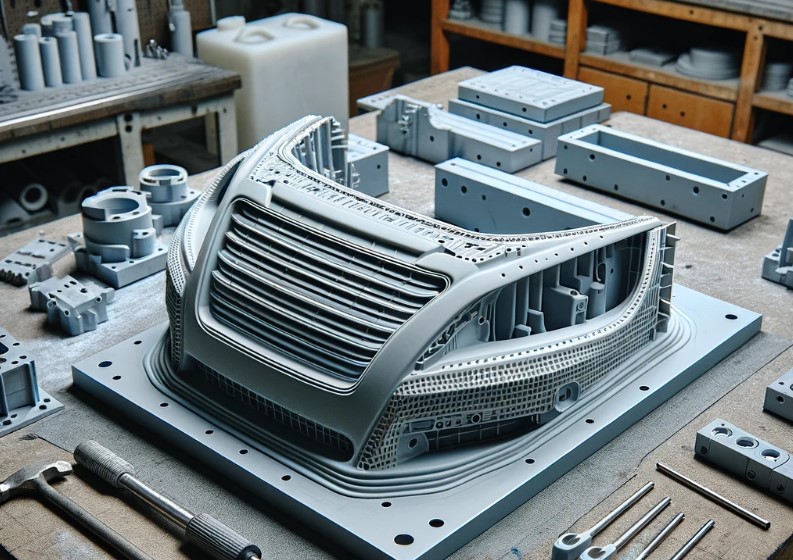
As mentioned before, the edges of your model should be slightly slanted to make it easier to take your mold off later. If your model doesn't already have these slanted edges, you should add some flanges to it. This means making edges that stick out to help you easily separate the mold from the model.
Adding Fiberglass and Resin
What you use to make your mold strong depends on what you need from it. Chopped strand mat is a common choice because it makes the mold thick quickly. You can tear it into pieces, which is easier than cutting fiberglass cloth. You might start with a lightweight mat, like ¾ ounce or 1 ounce. If you need your mold to be strong, you can put layers of a heavier fiberglass cloth, like 10 ounces, between mat layers. For even stronger molds, you can use a 1.5-ounce mat or thicker.
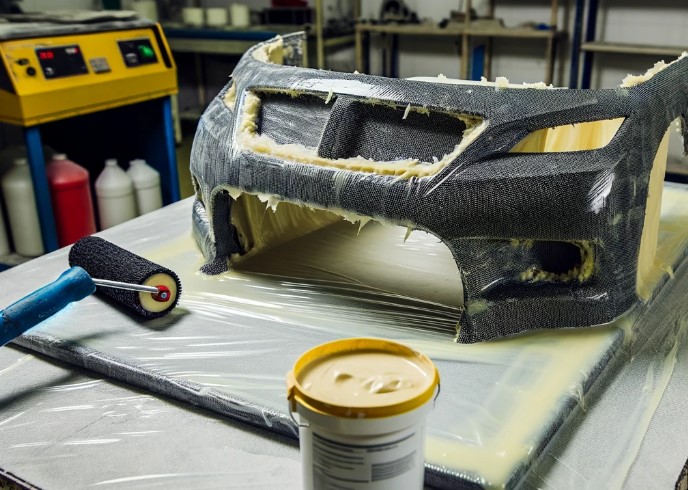
People usually use general-purpose ortho-laminating resin or ISO tooling polyester resin for the resin. Use epoxy resin if your mold needs to be strong and keep its shape well. However, epoxy could be better with chopped strand mats and is more expensive than the other resins. ISO resin is special because it doesn't shrink as much as the general ortho resin, which is good if your mold or the final product needs to be a precise size.
Working in a room about 70-80 degrees Fahrenheit is best. While the gel coat is still a bit sticky, lay down your first layer of fiberglass. Mix the resin with a hardener. For polyester, ISO, and vinyl ester resins, you mix in a MEKP catalyst at 1-2% of the total volume (but check the instructions on your resin to be sure). Spread the mixed resin over the fiberglass with a brush or a spreader, ensuring it soaks in well. Use a roller with bristles to press the resin into the fiberglass. Then, use a metal roller to push out any trapped air. A special corner roller can help eliminate air bubbles if there are corners. Make sure there aren't any white spots, meaning some fiberglass isn't covered with resin.
Let the resin dry. Before adding another mat or cloth layer, it should be solid but still sticky. The mold might warp if you try to dry many layers at once. Keep adding layers and letting them dry until the mold is as thick as you want. Usually, adding three to eight layers of 1.5 oz mat is enough, depending on what you're making. Remember, waiting and letting each layer cure before moving on to the next step is very important.
Taking Out the Model
After waiting a few days for your mold to harden fully, removing the model is time.
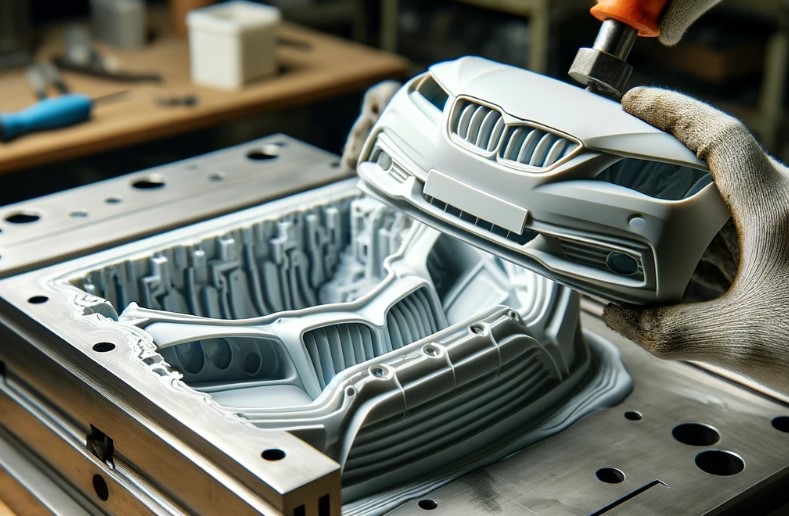
- First, trim any extra material from the edges using a sharp knife or scissors.
- Then, to start separating the model from the mold, use a big wedge or a paint stirrer along the edge where they meet. It's important not to refrain from using anything sharp for this because you could scratch or damage the new mold.
- Carefully make sure all the edges are loose.
- Now, you should be able to lift the model out of the mold. If the mold doesn't come off easily, gently tap the edges with a small hammer. This can help the two parts to come apart.
Getting Your Mold Ready
You can wash it off with water if you put on a PVA layer. If your new mold isn't perfect, sand and polish it to eliminate rough spots. Start with wet sanding using sandpaper that's 220 grit, and then move up to 600 grit for a smoother finish. After sanding, polish the mold with a polishing agent like Aqua Blue 100 and 200. To protect it, you can also use a mold sealer, such as Orca Mold Sealer.
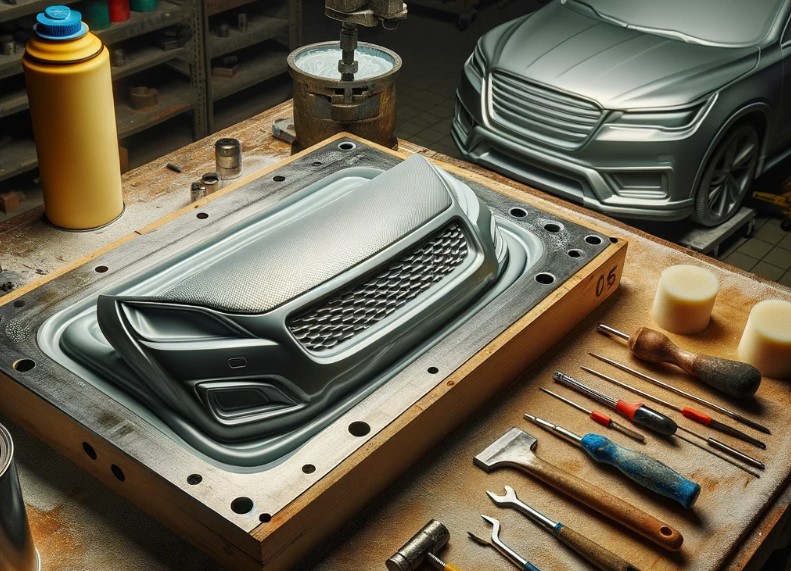
The first few times you use your mold, it's important to apply mold-release wax just like you did with your model. Put on three to five layers of wax, buffing it smooth between each layer. Then, add several layers of PVA mold release, allowing it to dry completely between applications. This process will help prepare your mold for use.
Making Your Molds is Easy and Affordable
You can make your custom molds easily and without spending much money! This guide helps you create professional-looking molds from the beginning to the end without needing much money or dealing with complicated steps. Working with fiberglass and resin might take some practice, but if you're patient and keep trying, you'll get good at making molds.
Fiberglass Rebar is more durable and should be used or Steel Rebar? We have prepared a comparison of Fiberglass Rebar and Steel Rebar for our users who wonder the answer to this question in detail. You can review it.

